




Almost every founder has had the moment. You are standing in line, scrolling your phone, and an idea hits: “We should have an app.” Maybe your customers keep asking for an easier way to book. Maybe your field team is drowning in paper forms. Maybe you see a gap in the market that nobody has filled.
The idea is the easy part. The journey from that spark to a polished app living on someone’s home screen involves dozens of decisions about strategy, design, technology, budget, testing, launch and long-term care. Many app projects fail not because the idea was bad, but because one of those decisions was rushed.
This guide walks through the entire process in plain language so you can approach your app project with clear eyes, a realistic plan and the right questions.
Step Zero: Do You Actually Need an App?
This may sound strange coming from a company that builds apps, but the most valuable question comes first: does this need to be an app at all?
Mobile apps are powerful when people will use them repeatedly, when they need device features like the camera, GPS, push notifications or offline access, or when the experience genuinely benefits from living on the home screen.
An app may not be necessary when:
- Customers will only use it once or twice a year.
- The main goal is sharing information that a fast mobile website could handle.
- You do not yet have an audience that would download it.
- The budget cannot support ongoing maintenance after launch.
A good alternative in some cases is a Progressive Web App (PWA). A PWA is a website that behaves like an app. It can be added to the home screen, work partially offline and, on many devices, send notifications, all without going through app stores. It is often a smart first step for validating demand.
The best app projects start by proving people want the thing, not by building the thing.
Step One: Define the Problem and the User
Before sketching screens, define three things in writing:
- The user: Who exactly will use this app? A busy parent? A warehouse supervisor? A first-time investor?
- The problem: What frustrating, slow or expensive thing does this person deal with today?
- The outcome: What will be better for them after using your app?
Write a single sentence that ties these together. For example: “Our app helps independent fitness trainers manage client bookings and payments from their phone, so they spend less time on admin and more time training.”
This sentence becomes your compass. Every feature request can be tested against it. If a feature does not serve the user, the problem or the outcome, it probably belongs in a later version.
Step Two: Validate Before You Build
Validation means gathering evidence that real people want what you plan to build. It can be surprisingly affordable:
- Customer interviews: Talk to ten to twenty potential users about their current process and frustrations. Listen more than you pitch.
- Competitor review: Download similar apps. Read their app store reviews, especially the complaints. Those are opportunities.
- Landing page test: Create a simple page describing the app and invite people to join a waitlist.
- Clickable prototype: Use design tools to create a realistic prototype and watch people try it.
Validation does not guarantee success, but it dramatically reduces the risk of spending months building something nobody uses.
Step Three: Prioritize Ruthlessly With an MVP
A Minimum Viable Product, or MVP, is the smallest version of your app that delivers real value to real users. It is not a broken or ugly version; it is a focused one.
A practical way to prioritize is to sort feature ideas into three buckets:
- Must have: Without this, the app does not solve the core problem.
- Should have: Valuable, but users could live without it at launch.
- Could have: Nice ideas for the future.
Most first versions should include only the must-haves plus a carefully chosen few should-haves. Launching sooner means learning sooner, and real user behaviour is far more reliable than internal assumptions.
Step Four: Choose Your Technology Approach
There are three common ways to build a mobile app, each with trade-offs.
Native development means building separately for each platform: Swift for iOS and Kotlin for Android. Native apps can offer excellent performance and full access to device features. The trade-off is that you are maintaining two codebases, which usually means higher cost and longer timelines.
Cross-platform development uses frameworks such as Flutter or React Native to build one codebase that runs on both iOS and Android. For many business apps, cross-platform delivers near-native quality at a meaningfully lower cost and faster pace. It has become the default choice for a large number of startups and businesses.
Progressive Web Apps run in the browser but feel app-like. They avoid app store approval and are easier to update, but have more limited access to certain device features, especially on iOS.
For most business apps that do not require heavy graphics or highly specialized hardware access, a cross-platform approach is often the sweet spot. Your development partner should explain why they recommend a particular approach for your situation.
Step Five: Plan the Backend
Users see the app. They do not see the engine behind it, but the engine is often where most of the complexity lives.
The backend typically handles:
- User accounts and authentication: Sign-up, login, password reset, and sometimes social or single sign-on.
- Data storage: Where user information, content and transactions are kept.
- Business logic: Rules for bookings, pricing, permissions and workflows.
- Integrations: Payment processors, CRMs, accounting tools, mapping services and messaging platforms.
- Notifications: Push notifications, emails and text messages.
- Admin dashboard: A place for your team to manage users, content and data.
Teams can build custom backends or use backend-as-a-service platforms such as Firebase or Supabase, which accelerate development for many projects. The right choice depends on complexity, data sensitivity, scale and long-term ownership goals.
Step Six: Design for Thumbs, Not Mice
Mobile design is its own discipline. Users hold phones in one hand, often while walking, waiting or multitasking. Great app design respects that reality.
Principles that matter:
- Put key actions within thumb reach, typically toward the bottom of the screen.
- Keep each screen focused on one main task.
- Use familiar patterns. iOS and Android each have design conventions users already understand.
- Design for interruptions. Save progress automatically so users can return without losing work.
- Make it accessible. Support larger text sizes, screen readers and sufficient colour contrast.
- Make onboarding fast. Let people experience value before asking for lots of information.
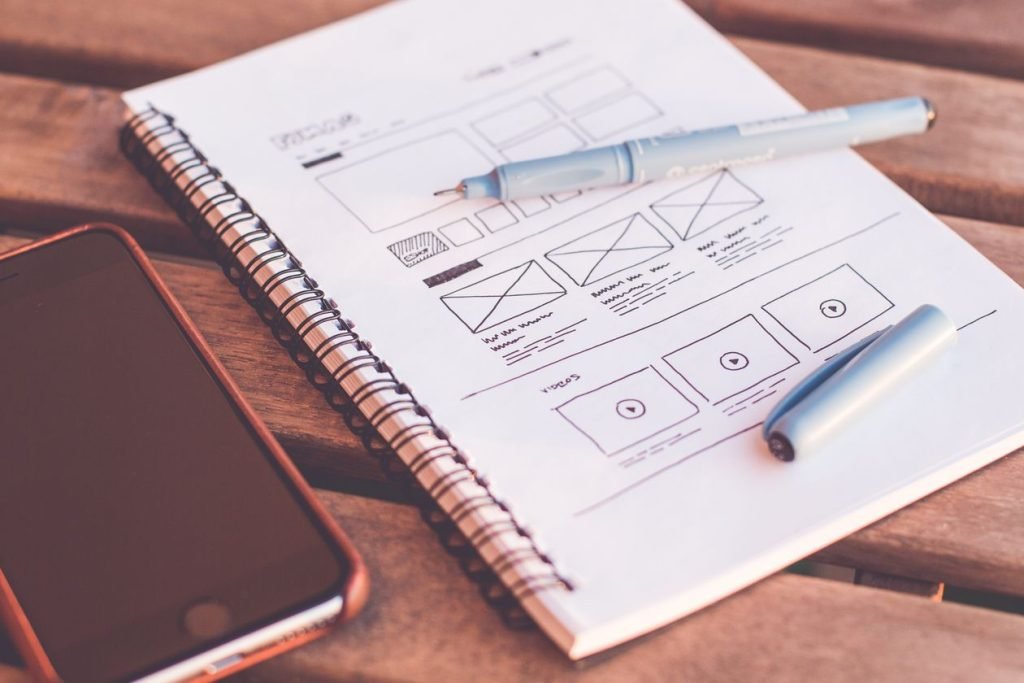
Designers usually move from rough wireframes to detailed visual designs to an interactive prototype. Testing that prototype with real users before development begins is one of the most cost-effective things you can do.
Step Seven: Build in Sprints
Most modern app teams use agile development, working in short cycles called sprints, usually one or two weeks long. At the end of each sprint, the team demonstrates working features.
Benefits of this approach include:
- You see progress early and often.
- You can adjust priorities as you learn.
- Problems surface quickly instead of at the end.
- You stay involved in decisions without micromanaging.
Your role as the client is important. Be available to answer questions, review demos and make decisions. Delayed feedback is one of the most common reasons projects slip.
Step Eight: Test Like Your Reputation Depends on It
Because it does. App store reviews are public and permanent. A buggy launch can damage your brand far more than a short delay.
A thorough testing process includes:
- Functional testing: Does every feature work as intended?
- Device testing: Does it work across different screen sizes, operating system versions and manufacturers?
- Performance testing: Is it fast? Does it drain the battery or use too much data?
- Security testing: Is user data protected in transit and at rest?
- Usability testing: Can real users complete key tasks without help?
- Beta testing: Release to a small group through TestFlight on iOS or internal testing tracks on Google Play.
Step Nine: Prepare for the App Stores
Publishing to the Apple App Store and Google Play involves more than uploading a file. You will need:
- Developer accounts for each store, ideally registered in your company’s name.
- App names, descriptions, keywords and screenshots, which together are known as App Store Optimization.
- A privacy policy and accurate data-collection disclosures.
- Compliance with each store’s review guidelines.
Apple’s review process tends to be stricter, so plan time for possible feedback and resubmission. Your development partner should guide you through these requirements.
Step Ten: Launch Is the Starting Line
Many founders treat launch day as the finish line. In reality, it is the start of the most important phase: learning from real users.
After launch, focus on:
- Analytics: Track downloads, active users, retention and where people drop off.
- Feedback: Read reviews, run short in-app surveys and talk to users.
- Iteration: Fix issues quickly and release improvements regularly.
- Marketing: Apps do not market themselves. Plan how people will discover and download yours.
Retention is often more revealing than downloads. An app that people open once and forget is not succeeding, no matter how many installs it has.
Step Eleven: Budget for the Long Term
A mobile app is a living product. Operating systems update every year, devices change, security threats evolve, and users expect improvements. Ongoing costs typically include:
- Hosting and cloud services
- Third-party service fees, such as maps, messaging or payments
- Bug fixes and compatibility updates
- New features
- App store developer account fees
- Monitoring and security
Planning for these costs from the beginning prevents an unpleasant surprise six months after launch.
Common App Development Mistakes
- Building too much in version one.
- Skipping validation because the idea “feels obvious.”
- Choosing a partner based only on the lowest price.
- Ignoring the backend and admin tools your team will need.
- Neglecting privacy and security until the end.
- Having no plan for user acquisition.
- Not owning your code, accounts and intellectual property.
Key Takeaways
- First confirm that an app is the right solution; a PWA or mobile website may be enough initially.
- Define the user, the problem and the outcome before designing anything.
- Validate demand with interviews, competitor research and prototypes.
- Launch a focused MVP and improve based on real usage.
- Cross-platform frameworks like Flutter and React Native suit many business apps.
- Testing, app store preparation and post-launch iteration are essential, not optional.
- Budget for ongoing maintenance and growth.
How Netxeno Can Help
Netxeno’s Build pillar covers the full app journey: discovery workshops, validation, UX and UI design, cross-platform and native development, backend engineering, testing, app store launch and ongoing support. Our Intelligence pillar can add AI features such as smart search, recommendations and voice or chat assistants, while our Growth pillar helps you attract and retain users after launch.
If you have an app idea, we would love to help you pressure-test it before you invest. Start at netxeno.com/.